文章目录(Table of Contents)
简介
这一篇我们会使用 Celluloid 结合 matplotlib 来绘制动图。在默认情况下,我们可以使用 matplotlib 中的 animation 模块来绘制动态图像。但是 Celluloid 提供了一种更加简化的方式,可以让我们更好的重复使用 matplotlib 的代码。
为了使用 Celluloid,我们首先进行安装:
- pip install celluloid
参考资料
- Celluloid Github,Celluloid 的 Github 的地址,上面会有简单例子的介绍;
- Python数据处理之Matplotlib学习,包含通过
animation模块绘制动态图;
使用 Celluloid 的方式
我们可以依据下面的三个步骤来创建一个动图。
步骤一,首先创建一个 matplotlib 的 Figure,同时对这个 Figure 创建一个 Camera。
- from celluloid import Camera
- fig = plt.figure()
- camera = Camera(fig)
步骤二,创建每一帧,并使用 camera 进行记录(snapshot)
- plt.plot(...)
- plt.fancy_stuff()
- camera.snap()
步骤三,在所有帧都被捕捉到之后,创建一个动图
- animation = camera.animate()
- animation.save('animation.mp4')
在 jupyter notebook 中显示
如果我们想要在 jupyter notebook 中进行显示,可以使用以下的方式:
- from IPython.display import HTML
- animation = camera.animate()
- HTML(animation.to_html5_video())
Celluloid 创建动画的例子
上面介绍了 Celluloid 的使用的三个步骤,下面介绍一些例子,来进一步熟悉 Celluloid 的用法。
创建一条变化的直线
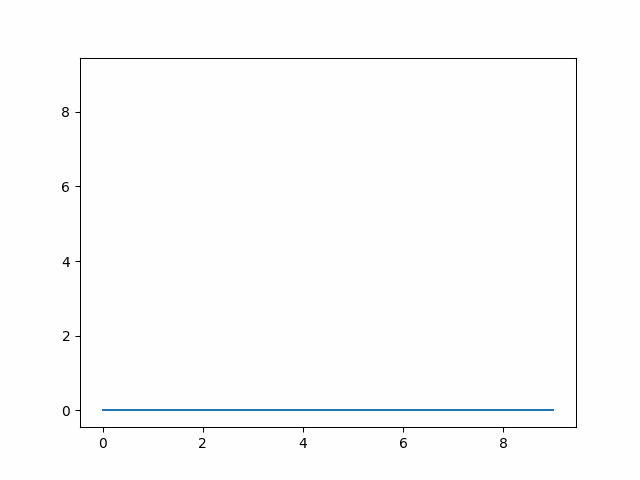
下面是一个基础的例子,绘制一条平着的直线,直线往上运动。
- import matplotlib.pyplot as plt
- from celluloid import Camera
- fig = plt.figure()
- camera = Camera(fig)
- for i in range(10):
- plt.plot([i] * 10)
- camera.snap() # 将上面的 plot 记录下来, 相当于是 snapshot
- animation = camera.animate() # 制作动画
- animation.save('celluloid_minimal.gif', writer='imagemagick')
最终生成的动图如下所示:
控制动图的快慢与颜色
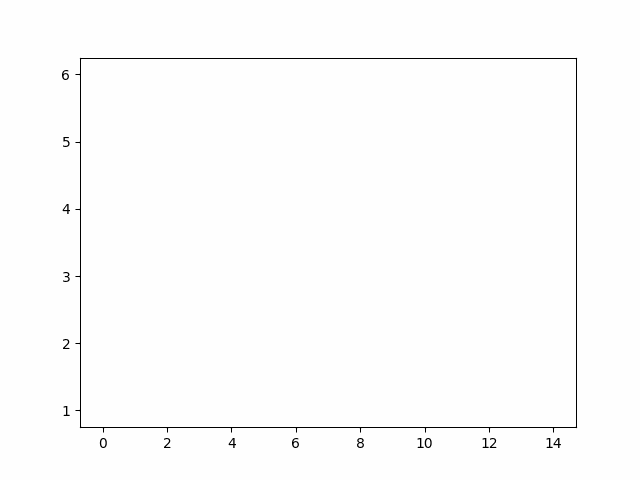
可以看到上面每一条线在绘制的时候,颜色都发生了改变,同时时间间隔也是会比较快。这两个我们都可以进行调节。
- 颜色我们可以通过绘图的时候,指定 color 即可。
- 关于绘制的速度,可以通过 interval 来进行指定,默认是 200,这里我们调整为 500,减慢速度。
- import matplotlib.pyplot as plt
- from celluloid import Camera
- fig = plt.figure()
- camera = Camera(fig)
- change_value = [1,2,3,4,5,6,6,6,6,6,5,4,3,2,1]
- for i in range(len(change_value)+1):
- plt.plot(change_value[:i], color='blue')
- camera.snap() # 将上面的 plot 记录下来, 相当于是 snapshot
- animation = camera.animate(interval=500) # 制作动画
- animation.save('celluloid_minimal.gif', writer='imagemagick')
最终的结果如下所示:
多个子图的绘制
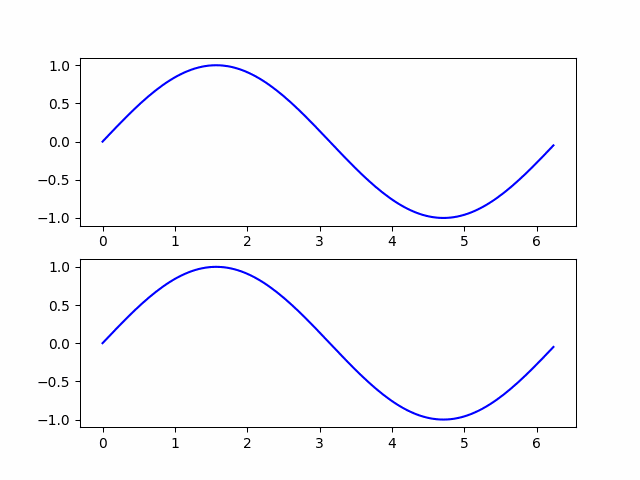
同时 Celluloid 也支持有子图时的绘制,下面是官方的一个例子:
- import numpy as np
- import matplotlib.pyplot as plt
- from celluloid import Camera
- fig, axes = plt.subplots(2)
- camera = Camera(fig)
- t = np.linspace(0, 2 * np.pi, 128, endpoint=False)
- for i in t:
- axes[0].plot(t, np.sin(t + i), color='blue')
- axes[1].plot(t, np.sin(t - i), color='blue')
- camera.snap()
- animation = camera.animate()
- animation.save('celluloid_minimal.gif')
- 微信公众号
- 关注微信公众号
-

- QQ群
- 我们的QQ群号
-


评论