文章目录(Table of Contents)
参考链接
把参考链接放在最上面,方便查找,参考链接为下面三个,分别是安装过程的两个和模板下载的一个。
安装过程
Latex 和样例模板下载
- 我们可以在清华大学开源软件镜像站进行下载
texlive,链接如下,Texlive Download- 在
Ubuntu下,使用sudo ./install-tl进行安装;
- 在
- Manuscript Templates for Conference Proceedings
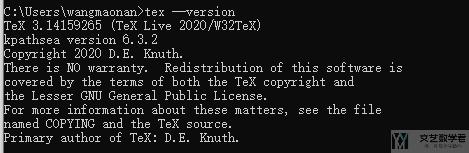
LaTeX 安装成功之后,可以在命令行输入 tex --version 来查看是否安装成功。
VS Code 安装配置 LaTeX
我使用的是 VS Code来编写 Latex,下面简单讲一下安装方法:
- 首先我们在清华大学开源软件镜像站下载texlive;
- 在vscode的扩展商店安装LaTeX Workshop插件;
- 配置vscode(配置方法如下):
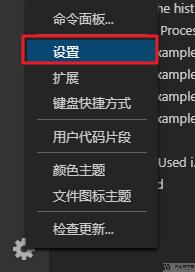
- 首先点击左下角=>设置(如下图所示):
- 接着点击 三个点=>打开setting.json

- 在打开的配置文件中输入下面的配置(这个配置文件修改右边的用户设置;注意,你可以把这里大括号里的内容放到你的设置的大括号里面-只能有一个大括号)
- {
- "latex-workshop.latex.tools": [
- {
- // 编译工具和命令
- "name": "xelatex",
- "command": "xelatex",
- "args": [
- "-synctex=1",
- "-interaction=nonstopmode",
- "-file-line-error",
- "-pdf",
- "%DOC%"
- ]
- },
- {
- "name": "pdflatex",
- "command": "pdflatex",
- "args": [
- "-synctex=1",
- "-interaction=nonstopmode",
- "-file-line-error",
- "%DOC%"
- ]
- },
- {
- "name": "bibtex",
- "command": "bibtex",
- "args": [
- "%DOCFILE%"
- ]
- }
- ],
- "latex-workshop.latex.recipes": [
- {
- "name": "xelatex",
- "tools": [
- "xelatex"
- ]
- },
- {
- "name": "xe->bib->xe->xe",
- "tools": [
- "xelatex",
- "bibtex",
- "xelatex",
- "xelatex"
- ]
- }
- ],
- "python.linting.pylintEnabled": false,
- }
完成了上面的内容,就基本配置完毕了,下面就可以正常使用了。
VS Code 在中文路径下编译 LaTeX
使用上面的配置进行 LaTeX 编译的时候,还会有一些小问题,就是在中文路径下会报错。这里需要将上面的 %DOC% 修改为 %DOCFILE% 即可。也就是如下所示,如果最后一行是 %DOC% ,需要修改为 %DOCFILE% 。
- "latex-workshop.latex.tools": [
- {
- "name": "xelatex",
- "command": "xelatex",
- "args": [
- "-synctex=1",
- "-interaction=nonstopmode",
- "-file-line-error",
- "%DOCFILE%"]
- }]
VS Code 结合 LaTeX 使用
我是直接去 IEEE 下载了论文的模板(链接见文章开头),直接看着模板来学的。
我们打开 tex 文件,可以看到会加载 LaTeX 的插件,同时会出现一些 commands,如下图所示;
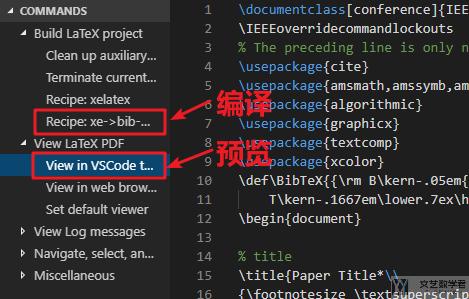
我们可以通过点击 Build LaTeX project 中的命令进行编译,然后点击 View LaTeX PDF 的命令进行预览。
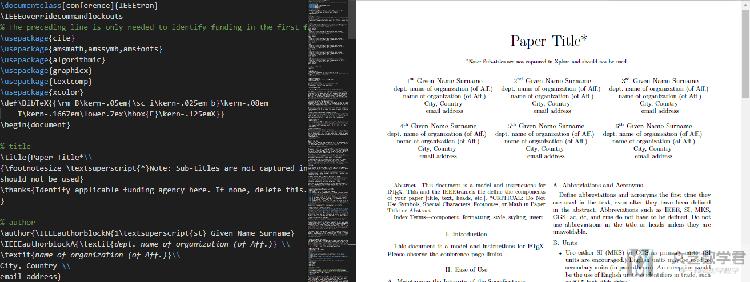
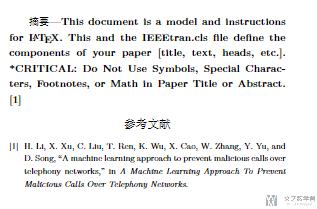
最后的使用效果如下图所示:
LaTeX 的文献管理
- 进入百度学术搜索文章,导出 bib 格式
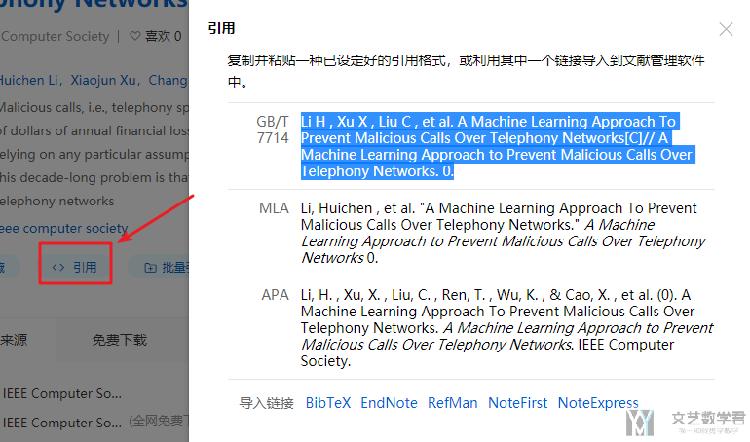
- 在 tex 文件夹下新建 bib 文件,存入复制内容,如这里的
- @inproceedings{LiA,
- title={A Machine Learning Approach To Prevent Malicious Calls Over Telephony Networks},
- author={Li, Huichen and Xu, Xiaojun and Liu, Chang and Ren, Teng and Wu, Kun and Cao, Xuezhi and Zhang, Weinan and Yu, Yong and Song, Dawn},
- booktitle={A Machine Learning Approach To Prevent Malicious Calls Over Telephony Networks},
- }
- 修改 tex 文件,在 end{document} 前加入下面内容,注意一定要定义style,否则会报错。
报错内容:I found no \bibstyle command---while reading file test.aux
- \bibliographystyle{IEEEtran}
- \bibliography{papers}
- 再次编译即可
VS Code 使用 LaTeX 快捷键
下面介绍一些快捷键的使用:
代码片段插入
有时候我们需要插入固定的代码片段,比如插入图片的时候,那么我们可以使用如下的方式进行操作;
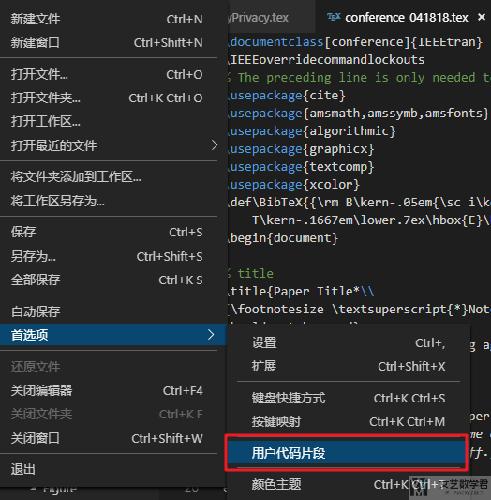
- 那我们打开
文件 > 首选项 > 用户代码片段,插入以下代码:
代开用户片段
新建代码片段
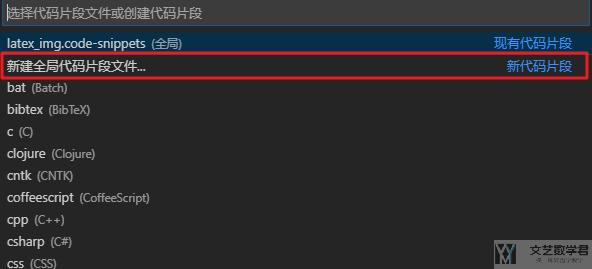
插入下面代码
- "Input a figure": {
- "prefix": "figure",
- "body": [
- "\\begin{figure}[htbp]",
- "\\centering",
- "\\includegraphics[width=3.0in]{}",
- "\\caption{Example of a figure caption.}",
- "\\label{fig}",
- "\\end{figure}",
- "$0"
- ],
- "description": "Input a figure"
- },
- 接着打开
文件 > 首选项 > 键盘快捷方式,搜索snippet,给插入代码片段一个诸如ctrl+shift z的快捷键;
绑定后是这样的:
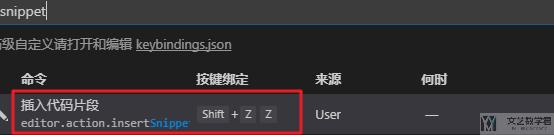
最后我们就可以使用了,可以看到下面的操作:
结语
以上是LaTeX的安装,使用,快捷键的一些介绍,希望有所帮助。

- 微信公众号
- 关注微信公众号
-

- QQ群
- 我们的QQ群号
-


评论